|
Meditor
|
extrusion tutorial
|
This tutorial shows how to extrude around current view axis and applies
an envelope so extrusion and deformation are applied simultaneously.
Home address for source code of meditor is:
http://mesheditor.sourceforge.net
Create a circle from first button on objects window and that looks like as:
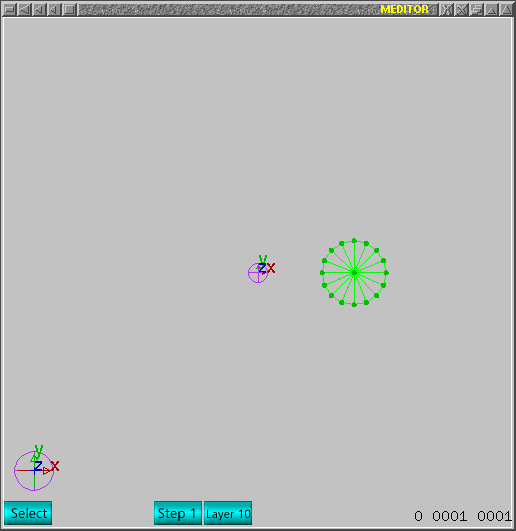
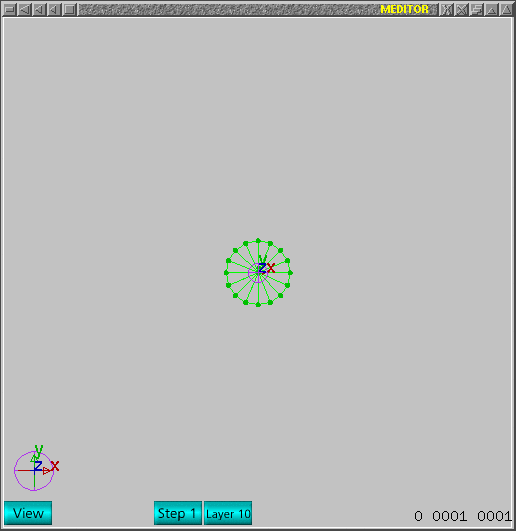 As I want to create extrusion around an axis so I give a "radius" from
real center of world. I change to select mode and I move whole mesh rightwards
as in next image:
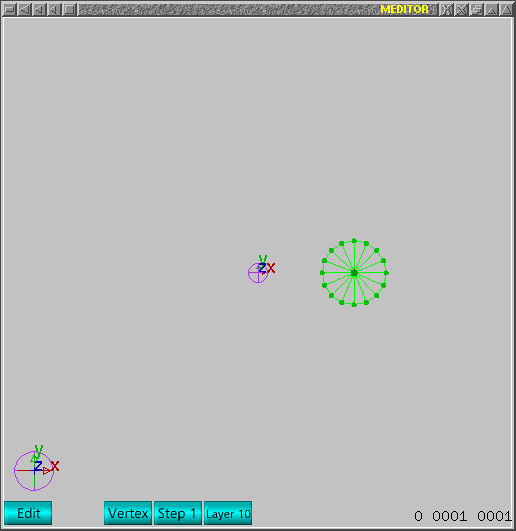
 I want a hollow object and I want to discard new triangles inside the object,
so I change to edit mode and I select that vertex as in next image (use
left hand side mouse button):
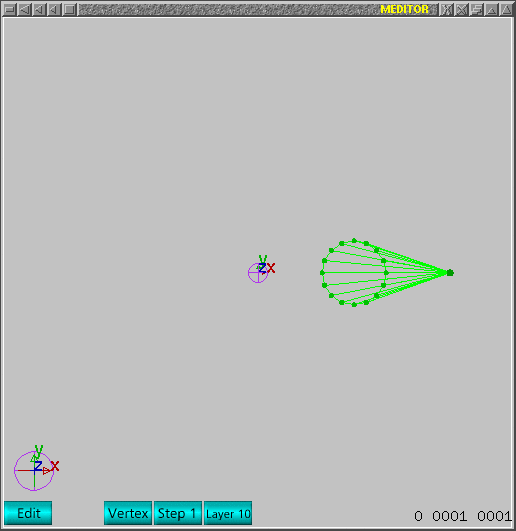
 To move that selected point, just push "m" to move and move mouse rightwards.
That should look as:
 I change the view using "d" key. This is the view which I want to extrude
circle around. That should look as:
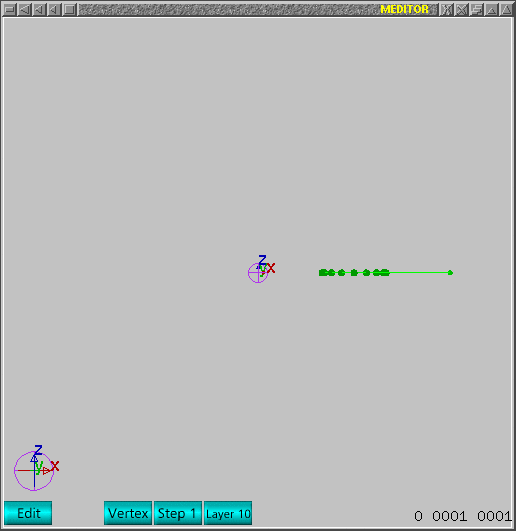
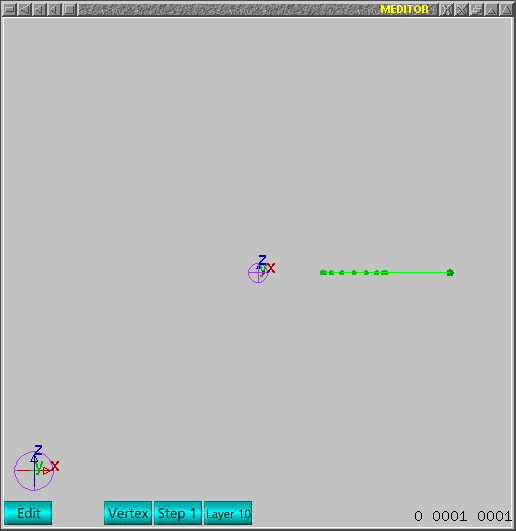 I want to select points which I want to extrude and certainly extrusion
should maintain the links. One could select each point using left hand side
mouse button but for last command I selected the only point which will not
be extruded, so I use Alt+"enter" to invert selection and all unselected
points will turn selected now and that selected point is now unselected as:
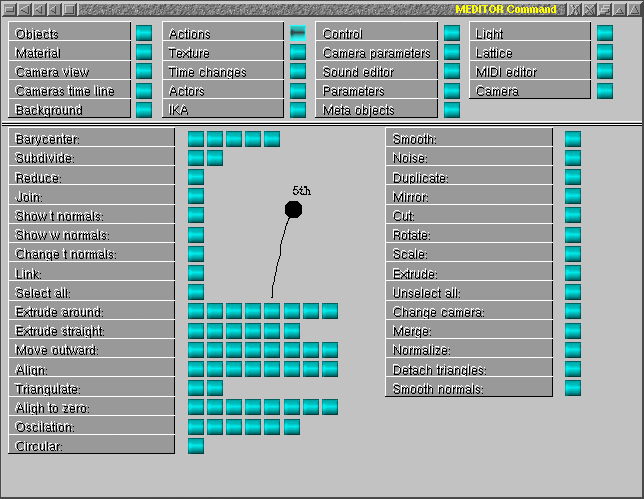
 Once I have selected points which will be extruded, I will select the service
to be applied. Launch command window using "g" key and push "actions" button.
That looks as next image. I will push the fifth button from "extrude
around" service. This label "extrude around" has several services and one
could try them as exercise.
 If correct button was pushed, main window should appear as:
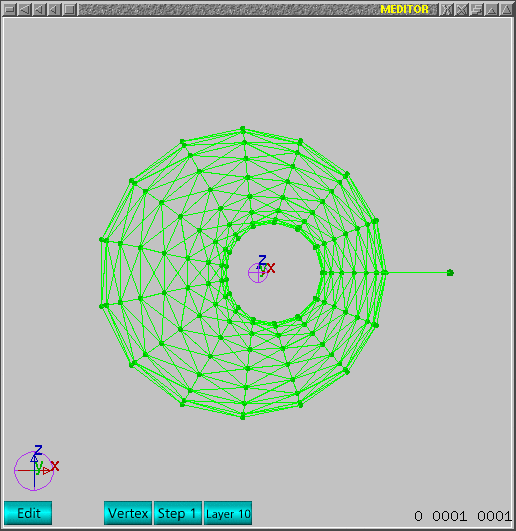
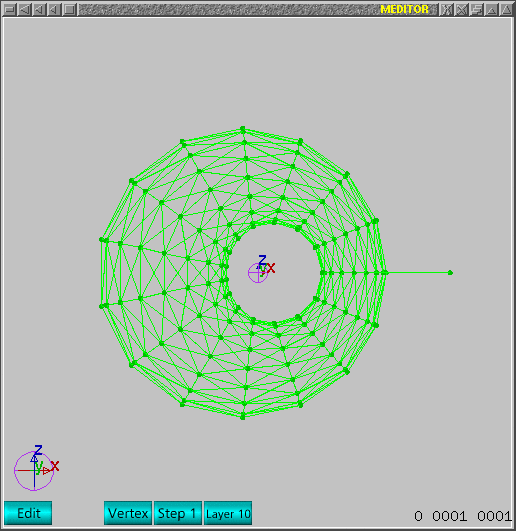 One should notice, that unselected point was exactly as one should expect,
no service was applied but I want delete it now. We DON'T DELETE IT BEFORE
because links are checked by the extrusion service. If one deletes the links,
extrusion will not work as expected because no triangles exist. Next image
shows I selected that unwanted point.
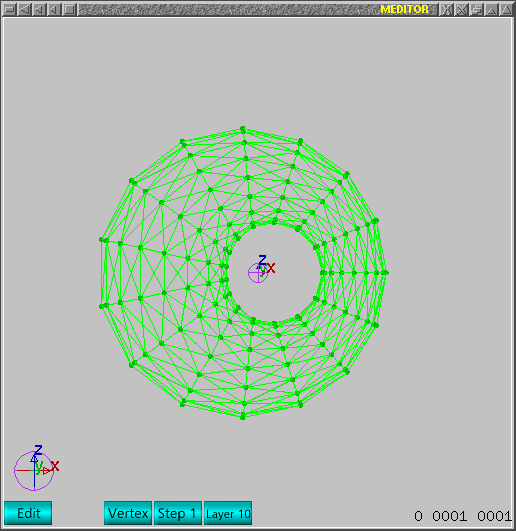
 In edit mode, just push "del" button. In this mode, del is applied on selected
points. This should delete that selected point ONLY. As the extrusion could
produce duplicated points, one should also use "backspace" to delete duplicated
points. This will lock the main window a little and no operations are working
for while. After lock is disabled, double points were deleted and that looks
as:
 The number of fat or slim parts are controlled by theta and phi. Initial
values are 1 and 1, so this produce the previous shape. Try different values
of phi, just push "*" key and change value to 3.
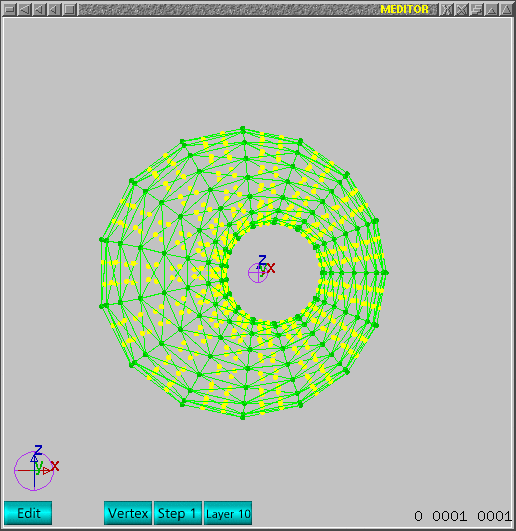
Normals can be wrong oriented. Just push "n" to see normals. Use "M" command
to correct normals. Sometimes normals appear pointing to inside and looks
as:
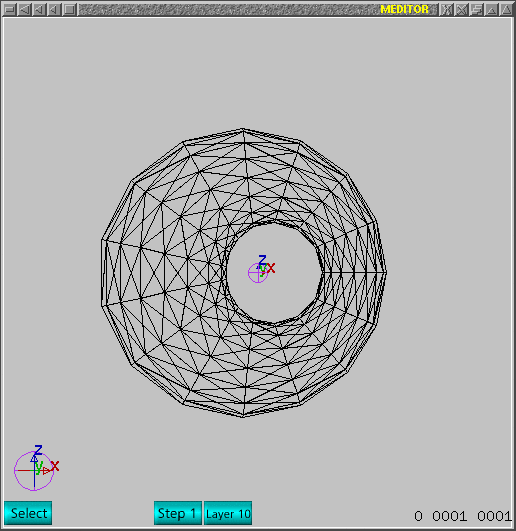
 Just correct it. Change to select mode and push F5. This will flip normals
for whole mesh. Now the object is complete. If one uses F4 (unselect all),
that looks as:
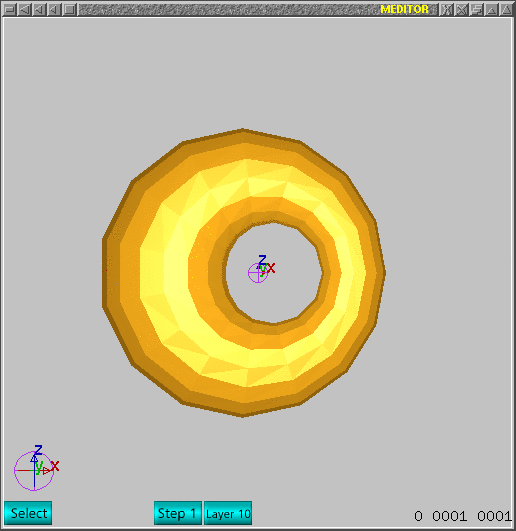
 If one applies material and pushed ALT+F10, the shaded image appear in
main window and it looks as:
 That is all folks!


