|
Meditor
|
squared section tutorial
|
This tutorial shows how to extrude around current view axis to produce a squared section extruded
mesh.
Home address for source code of meditor is:
http://mesheditor.sourceforge.net
I created this tutorial to show an easy way to create squared section extruded
meshes. One could notice this is not so direct as one could guess but this
will void to create internal and unwanted triangles.
Create a square (this is not a box shaped mesh) as indicated in next image.
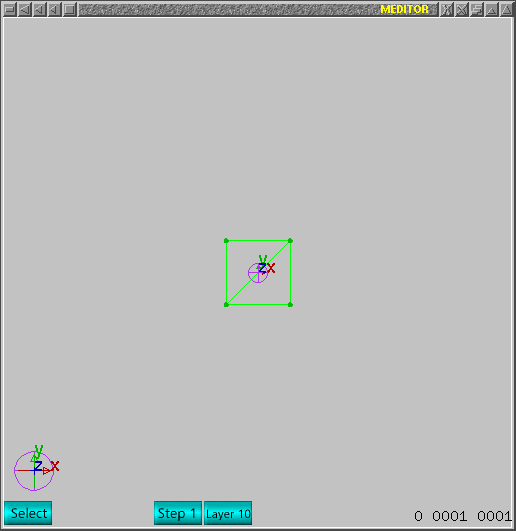
Select two points of one edge as indicated in next image.
Please, notice one _must_ be in edit->vertex mode.
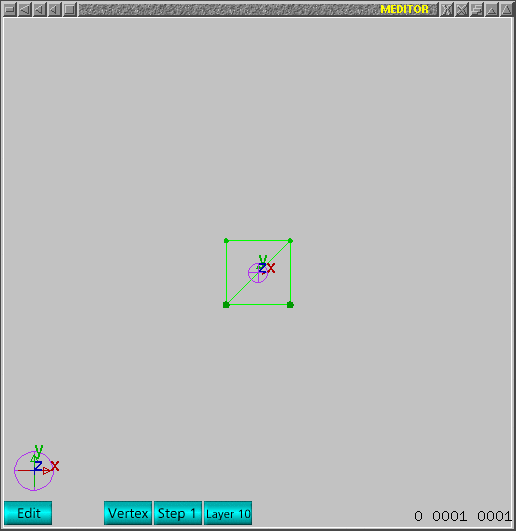
Use the command 'e' to extrude. Move to get same dimensions
as previous square as indicated in next image.
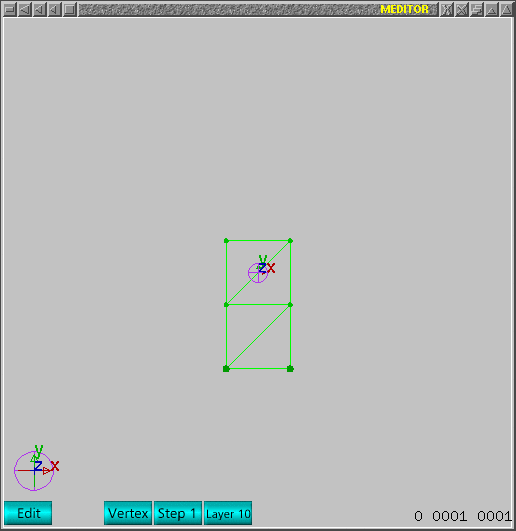
Repeat the process to reproduce next image.
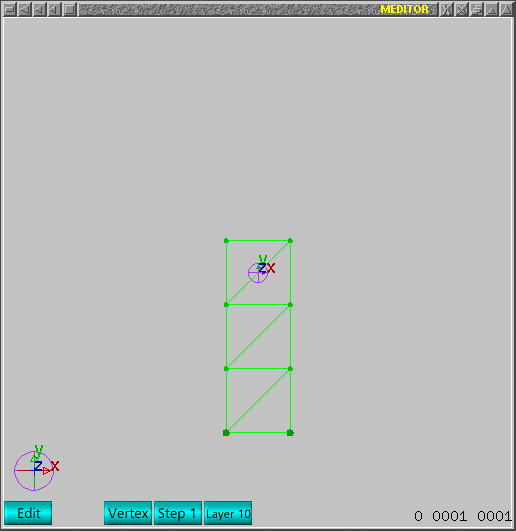
Unselect points and select other points of mesh as indicated
in next image.
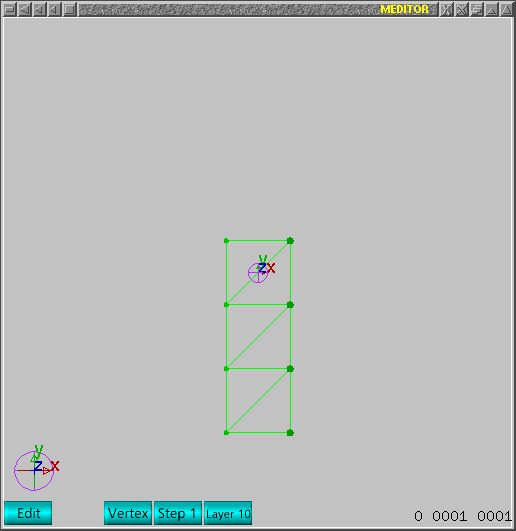
Extrude two times and reproduce next image.
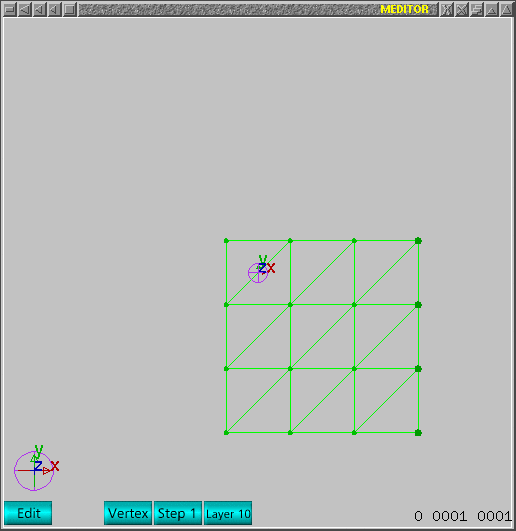
Now change to edit->triangle mode (F3+'END') and select
two triangles as indicated in next image.
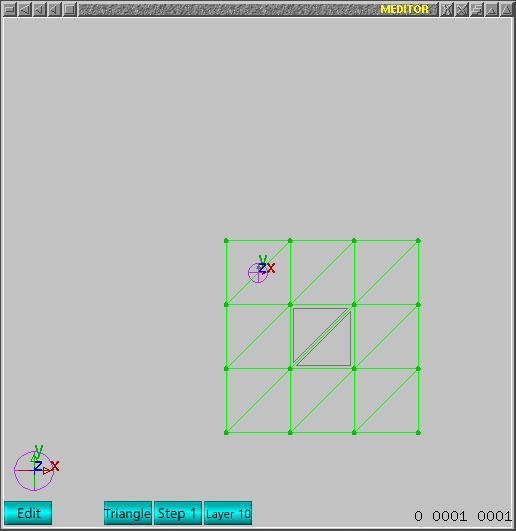
Delete triangles using 'Delete' key. The resulting mesh
should look as next image.
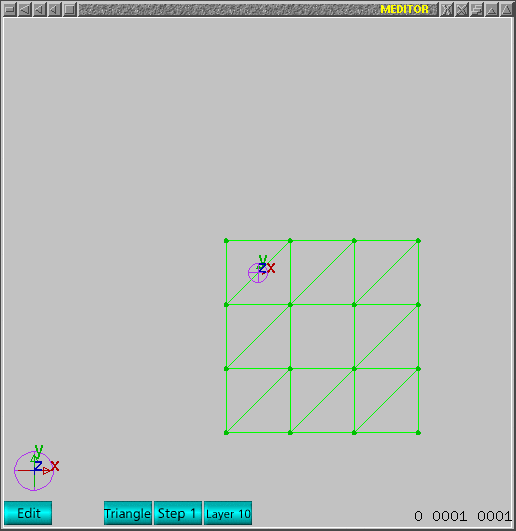
Select four (4) points as indicated. Now one _must_ change
to edit->vertex mode. Use 'END' key to return to vertex mode.
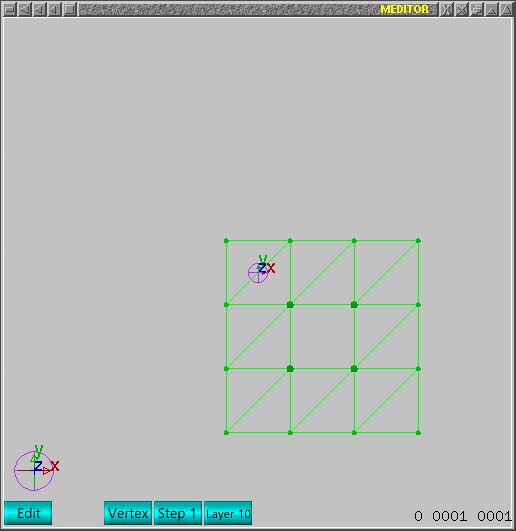
Move those selected points as indicated, use 'm' command.
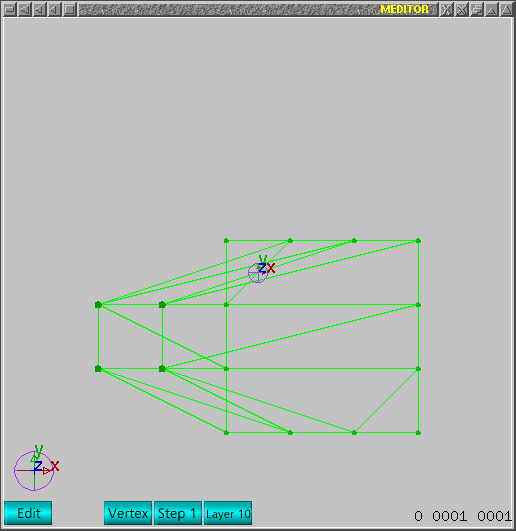
Change to select mode (F2) and move whole mesh as indicated
in next image.
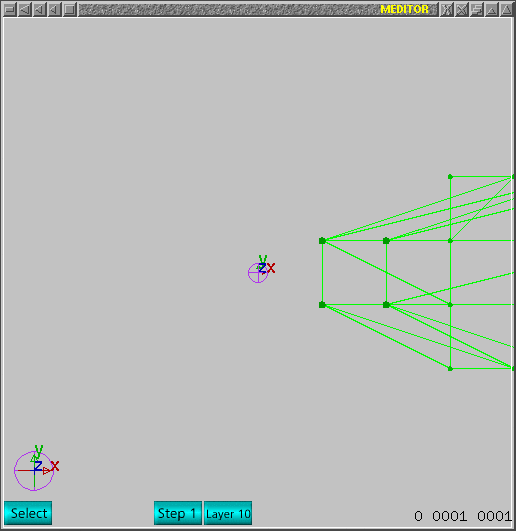
Change current view using 'd' key to reproduce next image.
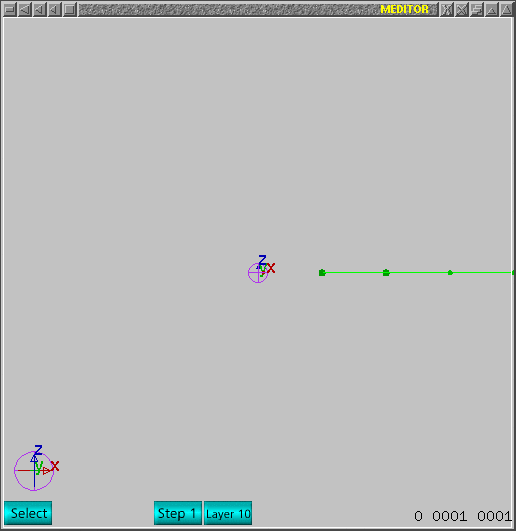
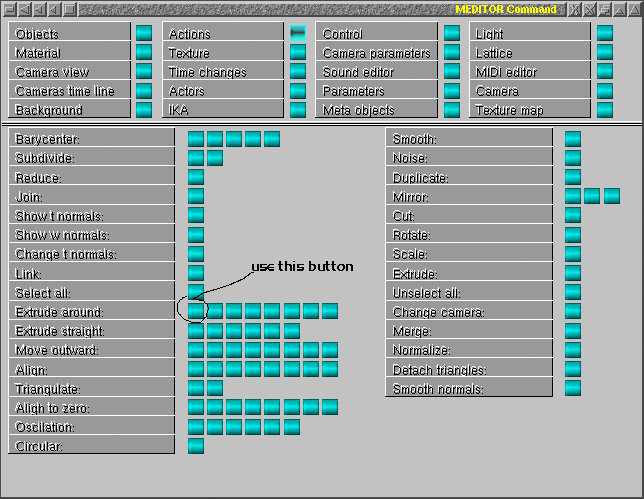
Now go to command window->actions and apply the service
to extrude around current view axis. I indicated in next window the button
which I used.
If all worked, next window should reproduce main window.
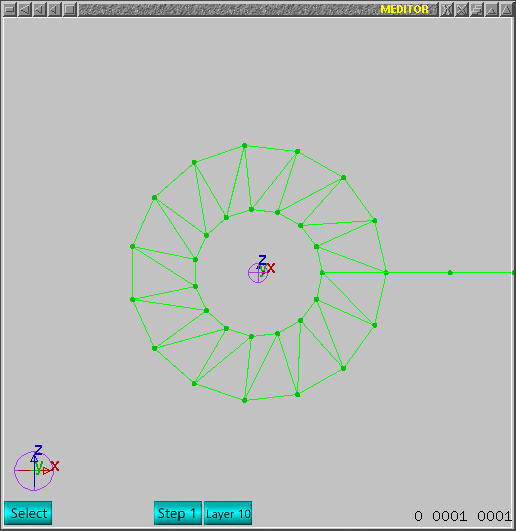
Change zoom to see whole mesh as indicated in next image. Use '+' or '-'.
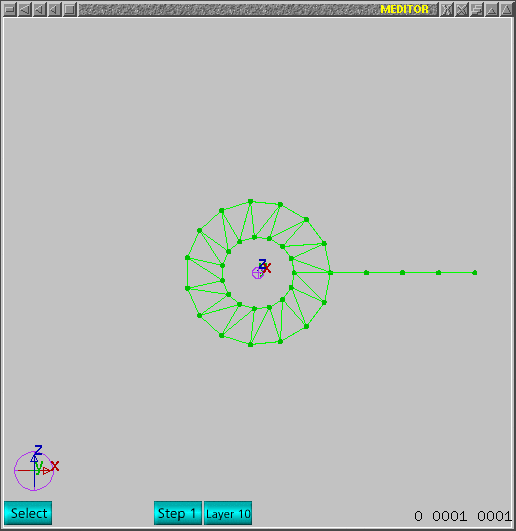
Select all unwanted points as indicated in next image.
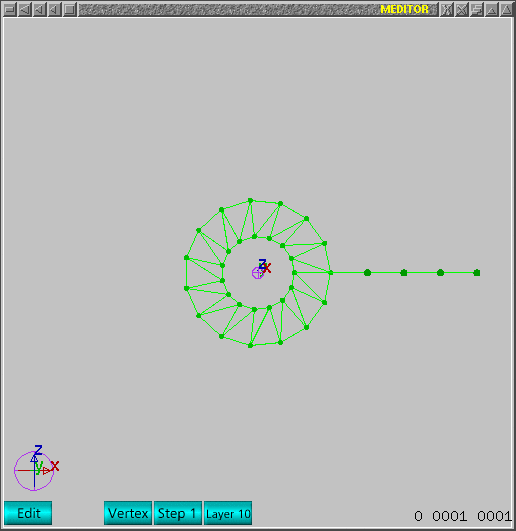
Delete those selected points in edit->vertex mode using
'Delete' key. If all worked, next image should reproduce the main window.
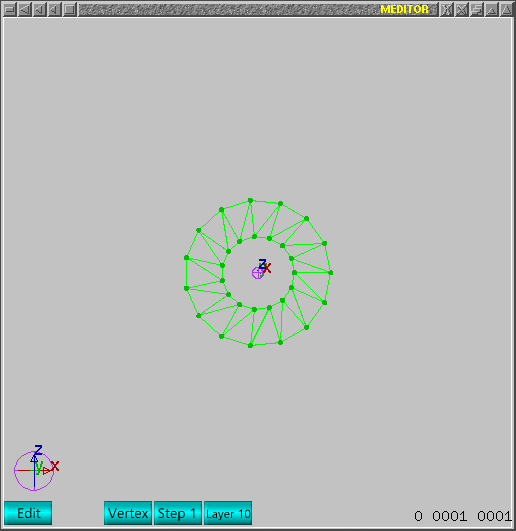
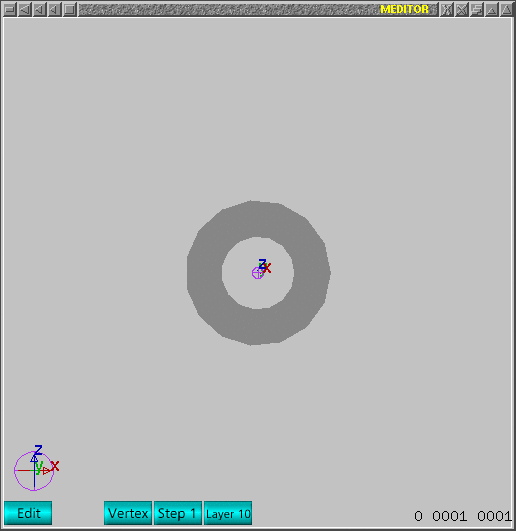
I used ALT+F10. If your image looks as next image, it has
wrong oriented normals. Select the mesh in select mode and use 'Backspace'
key to delete duplicated. Use 'M' command to correct normals. If you see
same image, use F5 to invert normals of whole mesh.
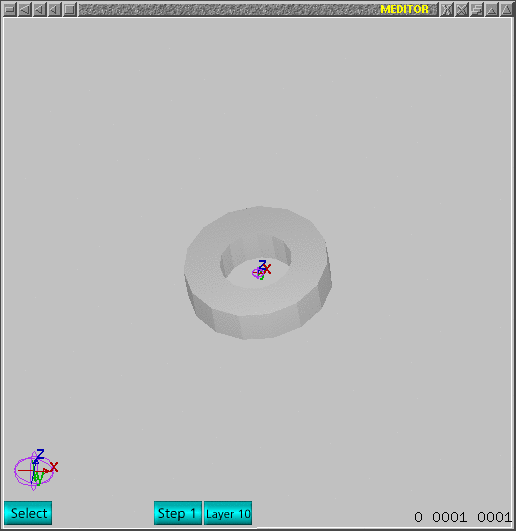
The final result should look as next image. I used middle
mouse button to move world view a little.
If one notices, this process does not create triangles
inside the extruded object. The extrusion process creates triangles from
old to new points but does not considers transversal triangles. If one tries
to extrude 4 points from a square directly, those edge in the middle of square
is also extruded and that will produce an unwanted sequence of internal triangles
. This follows the same idea used to create a round section from a circle
shaped mesh.
That is all folks!


