This is a tutorial to show how to use texture service in meditor.
Home address for source code of meditor is:
http://mesheditor.sourceforge.net
This assumes a little background about meditor. I just indicate how one could
proceed to use the service.
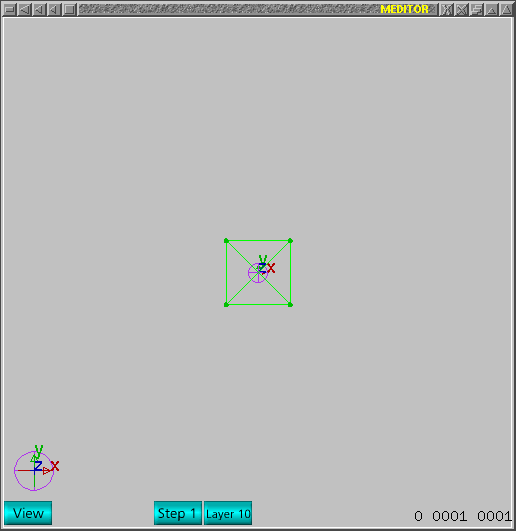
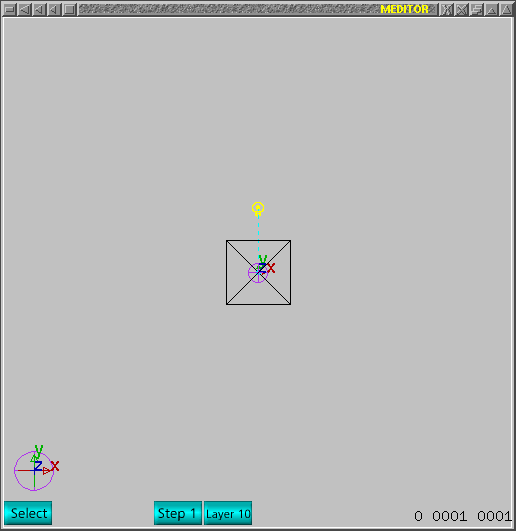
Initiate using a box, real 3D box in objects window. One could use a square
anyway. Main window should appear as:
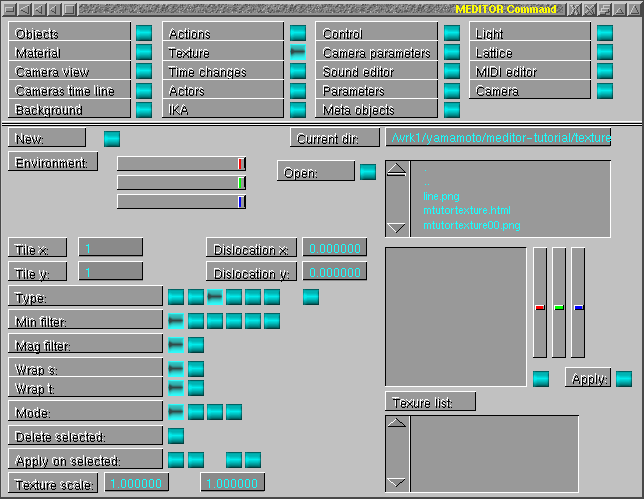
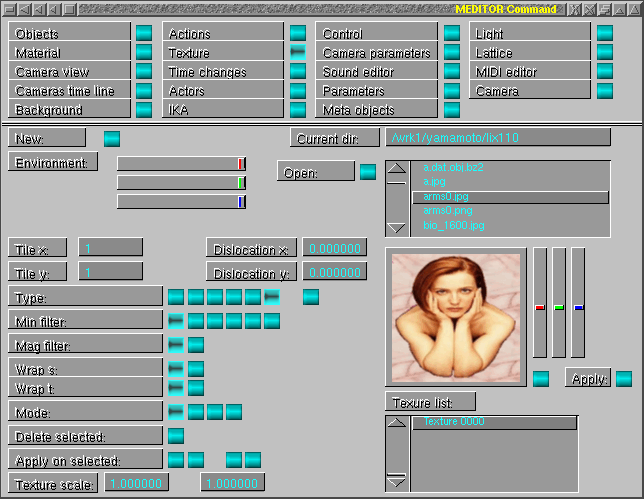
 Launch command window and push the button "texture" (second column, second
row) and that should appear something like:
 In order to select a directory which has texture images, one should click
left hand side mouse button on "current dir" input field and that should look
something as:
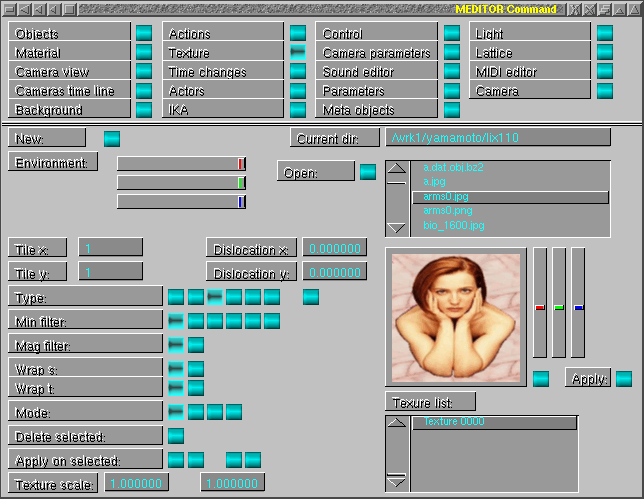
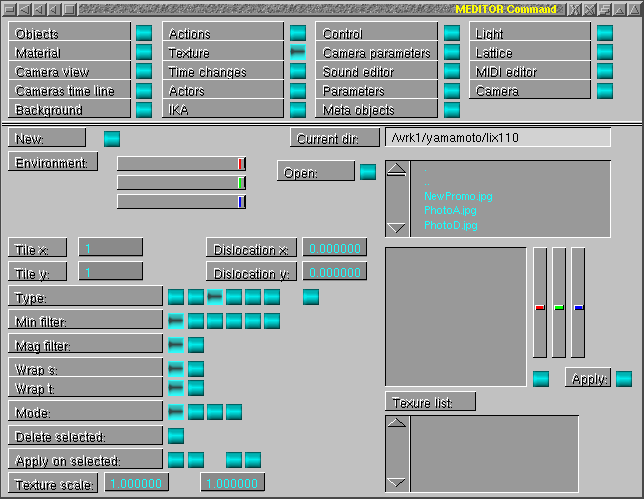 Once entered and completed operation using "return" key, directory list should
appear in list box and one can use mouse to select a file. Once selected,
push "open" button to see image in the drawing area. If one needs to go to
upper directory, just select ".." and push "open". For refresh, select "."
and push "open".
 Previous step was a "navigation" and "look for" process. In order to create
a texture to be used, one should push "new" button. This will create a new
item in the texture list. Once one texture is selected in texture list, one
may apply it for SELECTED meshes. Buttons labeled as "type" will enable different
process to handle texture on mesh. The three first buttons are planar options,
the next is cylindrical method, next is spherical method, next is box shaped,
and next is bump map option. The button "apply on selected" have several
buttons. First one will apply texture in selected meshes. Next button to
use it as background picture. Next button will disable texture in selected
meshes and next will disable for background of current frame.
 One should notice, texture works together with lamp and material, so one
MUST enable them
to have texture working. Material follows the idea as those one saw in other
tutorial.
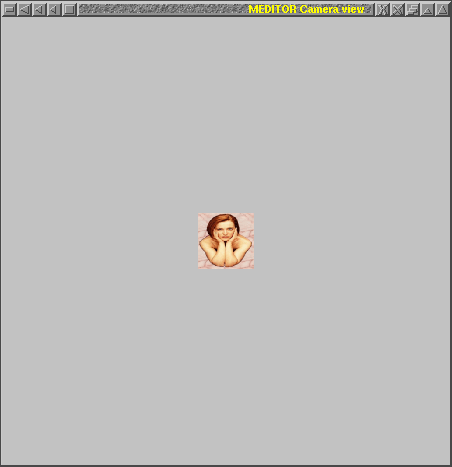
 If one succeeded to have all steps done, just push "`"key(crasis symbol)
to render with texture. This view shows the world camera view because there
is no camera enabled, just as figure below. If one changes the view using
middle button and push again "`", new render follows the new world view but
this is a simple exercise which the user could try by itself.
 That is all folks!


